Producing professional-quality video content requires more than just a good camera. To achieve stunning visuals, you need to master various camera settings. These settings can significantly impact the final output, and understanding how to manipulate them can elevate your video production skills. Here are five essential camera settings you should focus on for professional video production.
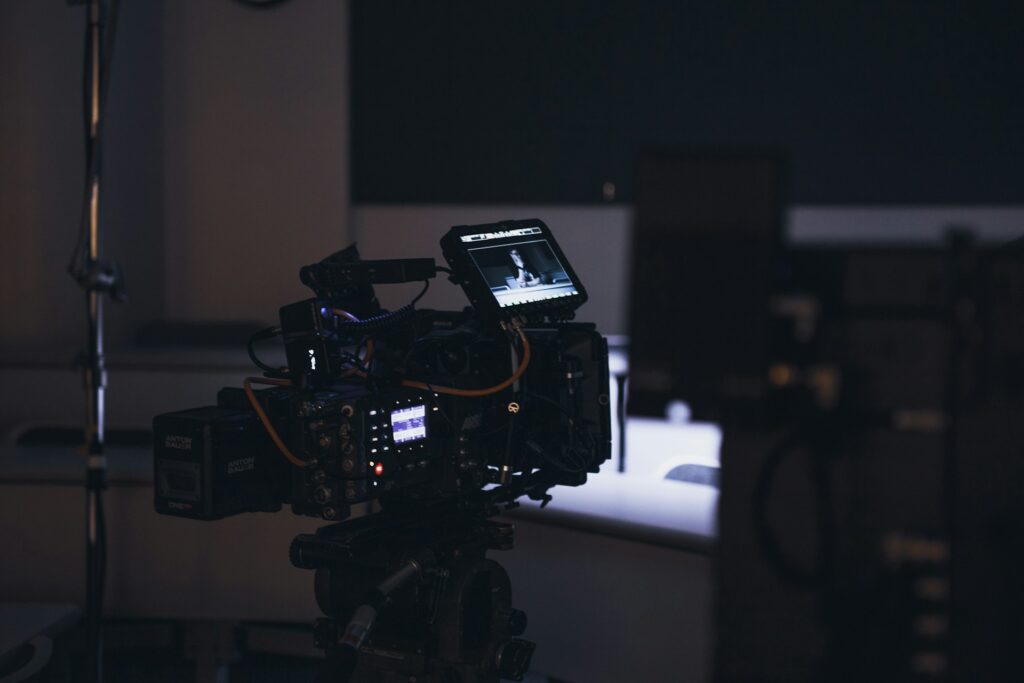
1. Resolution and Frame Rate
Resolution refers to the number of pixels that make up your video, and it plays a critical role in determining the video’s clarity and detail. Common resolutions include Full HD (1080p), 4K, and even 8K for ultra-high-definition footage. When choosing a resolution, consider your distribution platform and the storage capabilities of your equipment.
Frame Rate, measured in frames per second (fps), influences the smoothness of your video. Standard frame rates are 24fps for a cinematic look, 30fps for television broadcasts, and 60fps for smoother motion, particularly useful in sports or action footage. Higher frame rates can also be used for slow-motion effects. Balancing resolution and frame rate based on your project’s needs is crucial for achieving the desired visual impact.
2. Shutter Speed
Shutter speed determines how long the camera’s sensor is exposed to light for each frame. It’s typically measured in fractions of a second (e.g., 1/50, 1/100). The general rule of thumb for video is to set your shutter speed to double your frame rate. For instance, if you’re shooting at 24fps, your shutter speed should be 1/48 (or 1/50). This setting creates a natural motion blur that’s pleasing to the eye.
3. Aperture (F-Stop)
Aperture controls the amount of light that enters the camera through the lens and is measured in f-stops (e.g., f/2.8, f/4, f/16). A lower f-stop number means a wider aperture, allowing more light to hit the sensor, which is ideal for low-light situations and creating a shallow depth of field with a blurred background.
A higher f-stop number means a narrower aperture, letting in less light but increasing the depth of field, which keeps more of the scene in focus. Adjusting the aperture is crucial for controlling the exposure and achieving the desired artistic effect, especially in scenes with varying lighting conditions.
4. ISO
ISO measures the camera sensor’s sensitivity to light. Lower ISO values (e.g., 100, 200) produce cleaner images with less noise but require more light. Higher ISO values (e.g., 1600, 3200) increase sensitivity, allowing you to shoot in low-light conditions, but can introduce grain or noise into the footage.
Finding the right ISO setting involves balancing the available light and the desired image quality. Many modern cameras offer excellent high ISO performance, but it’s generally best to keep ISO as low as possible and use additional lighting to maintain image clarity.
5. White Balance
White balance ensures that colors in your video appear natural under different lighting conditions. Most cameras offer presets for various lighting environments (e.g., daylight, tungsten, fluorescent) and the option to manually set the white balance using a grey card or custom settings.
Incorrect white balance can lead to unnatural color casts that detract from your video’s quality. By properly setting the white balance, you ensure that whites appear white and all other colors are accurately represented, creating a visually cohesive and professional-looking video.
Master Your Camera Settings
Mastering these five essential camera settings—resolution and frame rate, shutter speed, aperture, ISO, and white balance—is fundamental to producing professional-quality videos. Each setting interacts with the others, and understanding how to balance them based on your shooting conditions and artistic vision is key to achieving outstanding results.